I know 5 people expecting in the next few months, most of the before me. I love to spoil little babies with all kinds of cute things, but I only recently started making items for these little cuties. If you are expecting a bundle of joy also expect to receive something I am making. This is my first attempt at a covered travel wipe case. Please disregard the mess. I still haven't gotten my storage shelves up in my crafting cave. I hope you all like it..... here goes!!
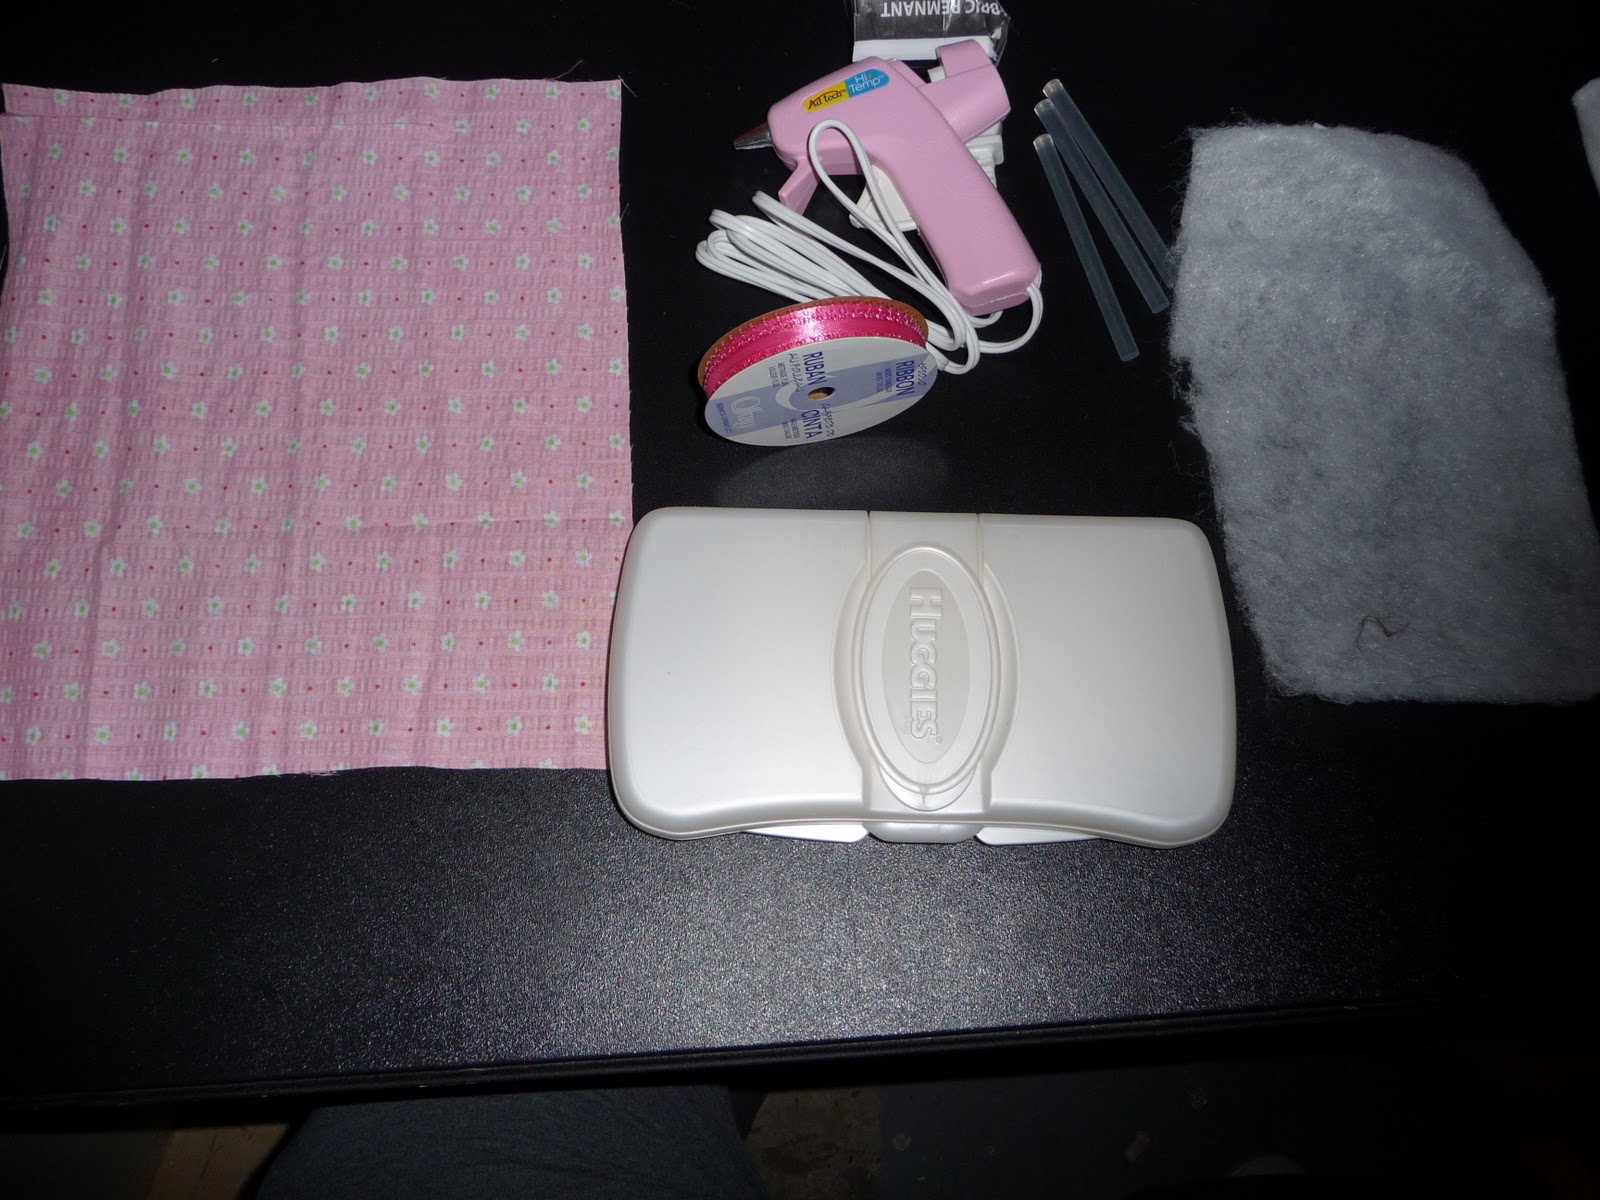
What you need.
- A travel wipe container
- high loft batting
- fabric
- ribbon
- hot glue gun and glue sticks
- scissors
- quilting wheel (optional)
Apply hotglue to the top of the case but not the side. You need the side to glue the fabric. I put it all around the edge of the top then squiggled it all over. Stick the batting to it and trim it. To trim it i kept the scissors close to the sides and it made it very easy to get the batting cut very close.
Run a thin line of hot glue just along the top front edge and stick one short side of the fabric to it.
Pull it taut and glue it to the bottom front. I then used the quilting wheel to trim the fabric. Don't press too hard as you don't want to go through the case.
This is what it looked like once I got it glued and cut.
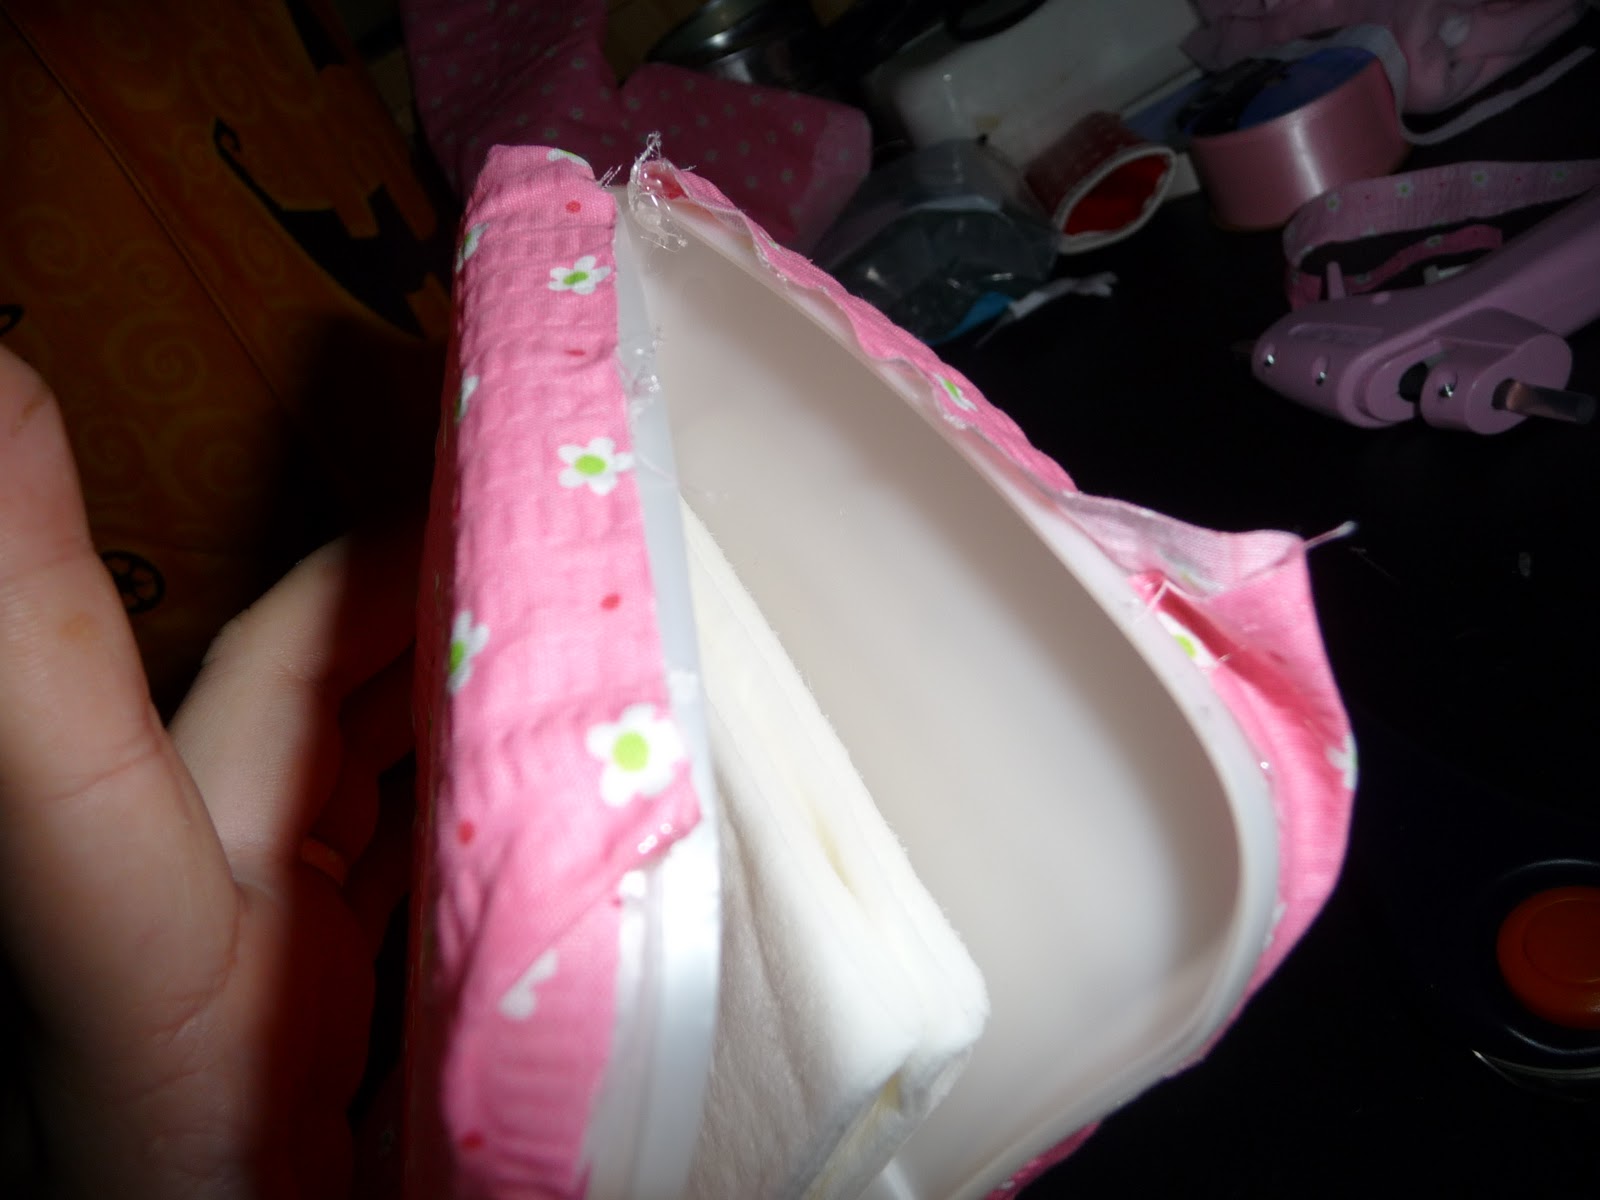
Cut a slit at the back. if you don't you will glue the case shut... it'll look pretty but it will be useless.
I folded the sides in like a present and glued them down. Then I put a dab of glue in the fold, then along the edge of the case and folded the fabric on to glue and trimmed that up also. If you glue the fabric onto the opening, not to fret, use the quilting wheel to cut it. Then open the case and peel the extra fabric off. Yes I had to do this a couple times.
I also had to put a smidge more glue to keep the corners down. Just don't overdo it then you will have blobs of dried glue and it won't be as pretty.
Opening it to make sure I wasn't gluing it shut
how it looked all trimmed up
Ready for ribbon
I started the ribbon at one side and ran it over to the other. Working one short side, 1/2 the front, then the other half, then finished the other short side. I didn't cut it until I knew EXACTLY how much i needed. I waiting until I was almost at the end before I cut it.
here's the top side done
Do it to the bottom and overlap the begning and the end of the ribbon. I think it looked good. Next time I will certainly hit it with a lighter instead of putting a verythin layer of glue on it.
and it's done. I hope they like it!


No comments:
Post a Comment
Note: Only a member of this blog may post a comment.